Ever feel like you're living in a concrete jungle? Want to get the kids back to nature? Looking for a new hobby? Have a go at growing your own plants with our guide to urban gardening in Singapore!
We’re constantly wracking our brains for fresh new projects to keep the kids busy. And we’re also into homegrown food and fresher-than-fresh produce. So the best way to kill two birds with one stone? Get the kids into urban gardening! Sure, urban gardening is just a hipster way of saying “growing plants in the city”. But knowing how to take care of a plant in Singapore isn’t as easy as it sounds, especially with the scorching heat and sudden downpours. And that’s before we consider the fact that some gardens need to live on a balcony!
But hey, trust us when we say that it’s worth it. Nurturing plants and showing the kids the wonder of mother nature is a beautiful thing, so we’re all about urban gardening right now. It ties in beautifully with our efforts to be kind to our planet too – things like reducing waste, only taking what we need and minimising our carbon footprint. Who needs to buy air-flown veggies when we can grow our own, anyway? We’ve got loads of different ideas about how to start your urban gardening adventure – whether you live high up in a HDB, or in a home with no outside space – we’ve got you and your urban garden covered.
A COMPLETE GUIDE TO URBAN GARDENING IN SINGAPORE
Why should city kids get into urban gardening?
1. It answers the question: ‘Where does our food come from?’
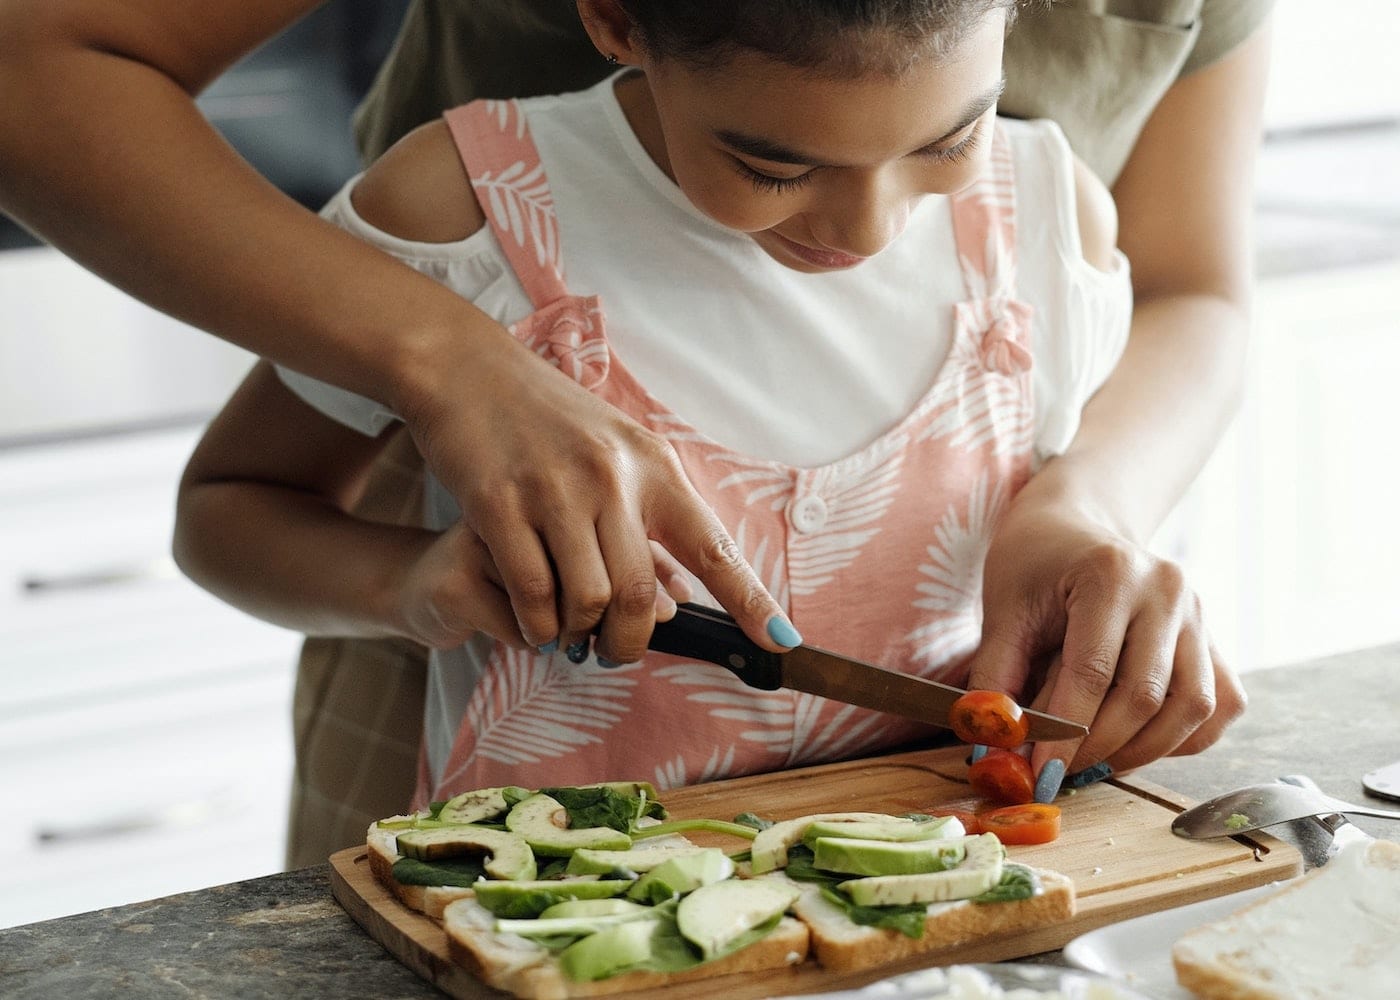
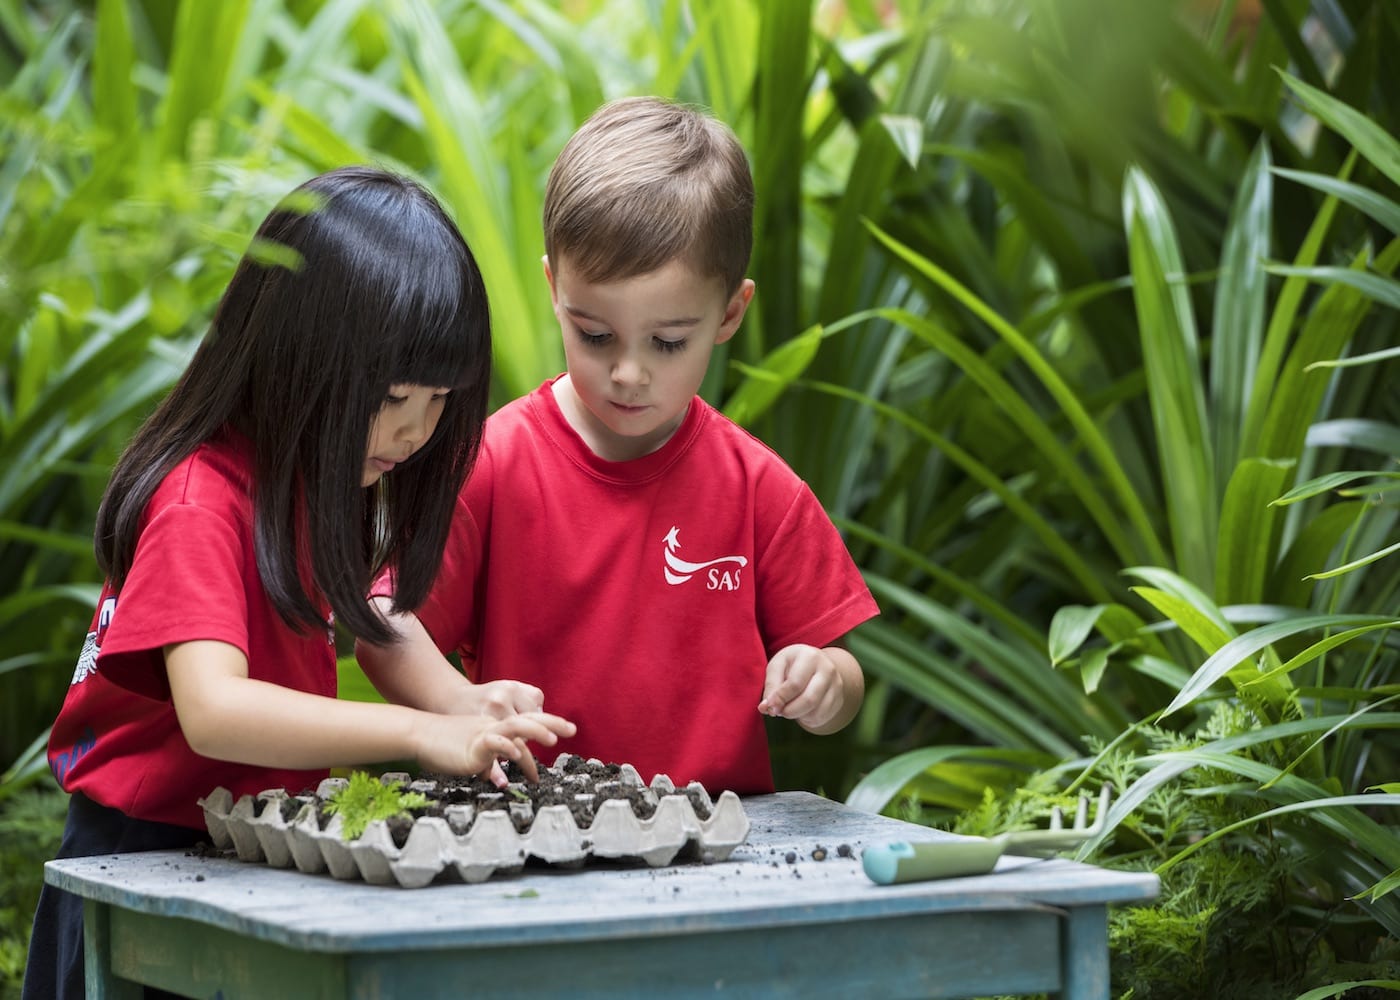
Before we started urban gardening with our kids, they would have said that our veggies came from ‘the supermarket’. Even worse, they might have thought it was normal for salad to come in a plastic bag! Growing up in a city environment, it’s inevitable that our kids don’t get much exposure to farming experiences or endless fields of locally produced crops. So, let’s pique their curiosity and teach them that we can grow our own green goodies, even from a balcony or small backyard! We guarantee kids will love getting involved with the gardening. Especially watching their food grow from a seedling into a bowl of salad, all from their own balcony!
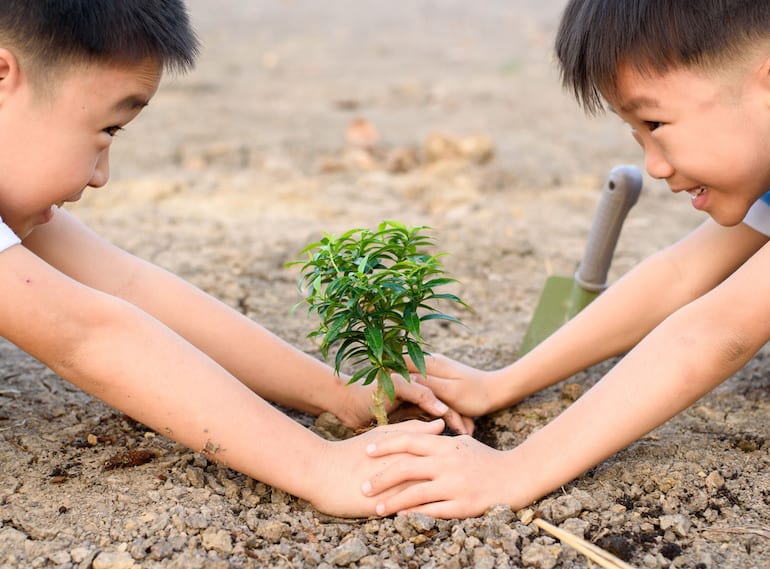
2. Gardening teaches kids responsibility and gives them a great sense of achievement
We pulled off something amazing here: the kids completed a regular chore without batting an eyelid… yup, it turns out that little kids love watering plants! Other kid-appropriate tasks include trimming dead leaves, looking out for pests and doing the all-important job of harvesting tonight’s salad! We love nothing better than seeing our children puff up with pride when they accomplish something important to them…
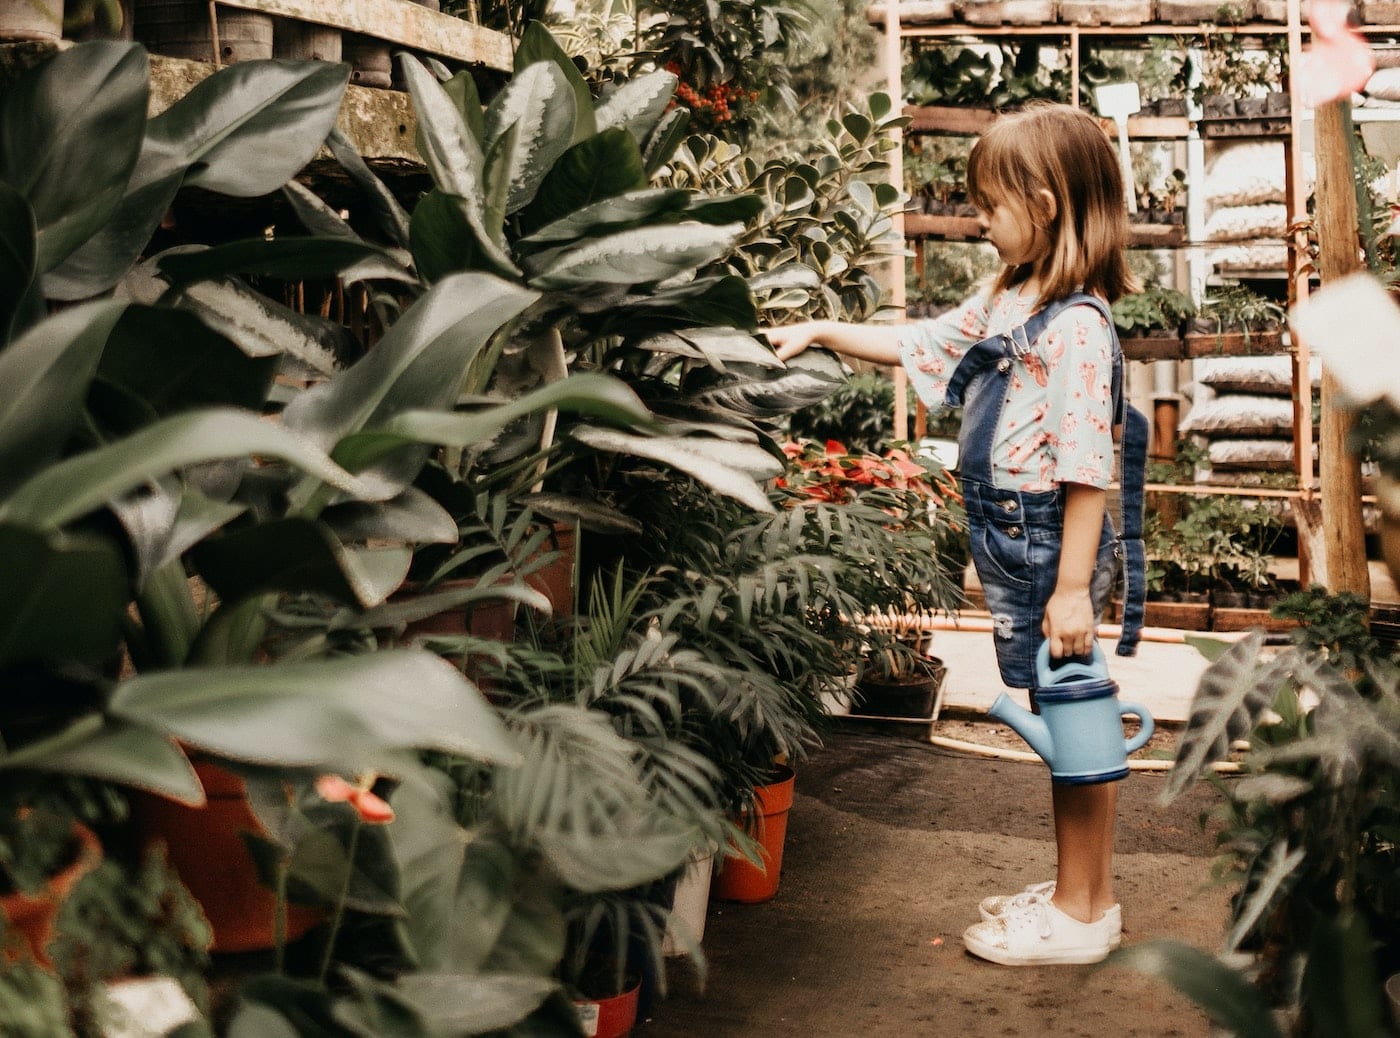
3. Gardening is all about learning through fun: experimenting, getting hands dirty and tasting new things!

Our kids have had such huge fun flexing their little green fingers. Whether it’s planting seedlings, pruning crops, examining plant roots or just pouring water and plant food into the garden. The opportunities to experiment have been as bountiful as our mint harvests! Not only have they had a lesson in responsibility, they’ve also experienced the triumphs and trials of experimenting with growing their own produce…
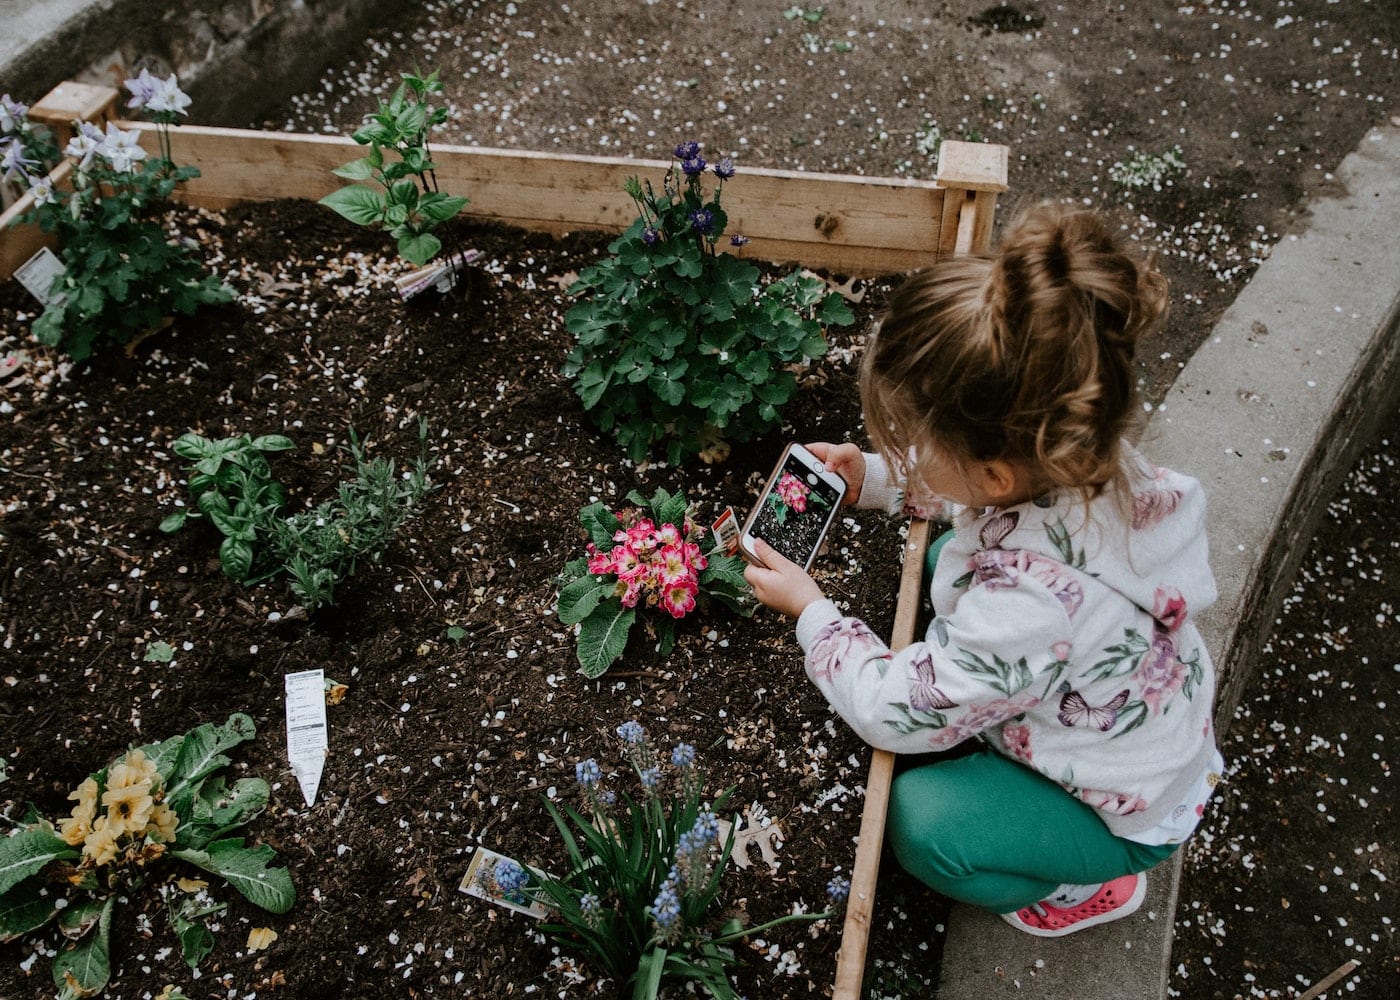
4. Gardening teaches children to care for the world around them
We say it is never too early to put small people on the right path to green values. And what better way to teach them that than by showing them how we can grow our own chemical-free, fresh goodies right on our own balconies, or in our gardens? Involving the kids in the nurturing of the plants also gives them a new level of respect for what’s involved in producing good, clean food. And that it shouldn’t be wasted!
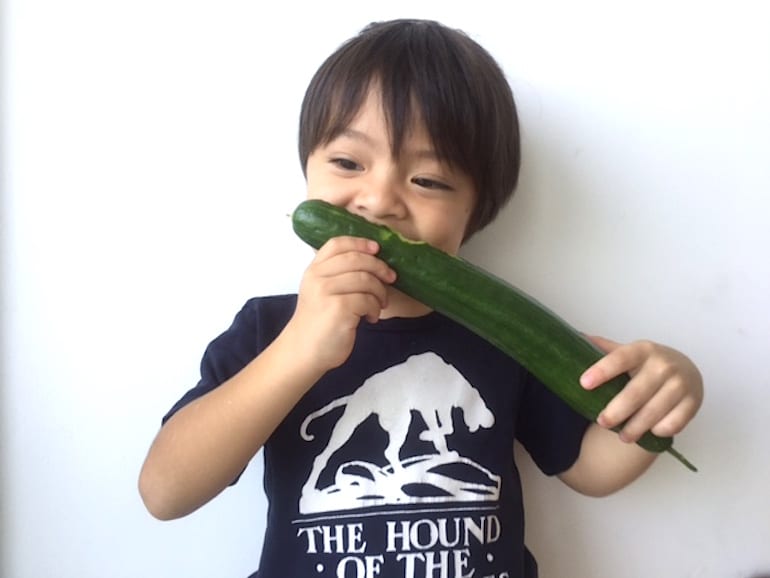
5. It encourages them to eat their greens!
For some reason, kids have a natural anti-greens radar that is pre-programmed to make them think they hate veggies from the get-go. Gardening is going to fix that, folks! Plonk Brussel sprouts from an unknown origin on their plate and the cries of horror will be immediate. Get them to cultivate and harvest their own kale or cucumber? There is no way they will be able to resist having a little nibble! Getting kids to grow their own greens is literally the most cunning plan ever for coaxing them into trying and loving vegetables that would previously not have stood a chance.
How to get your kids started with urban gardening
1. Head off to the farms!
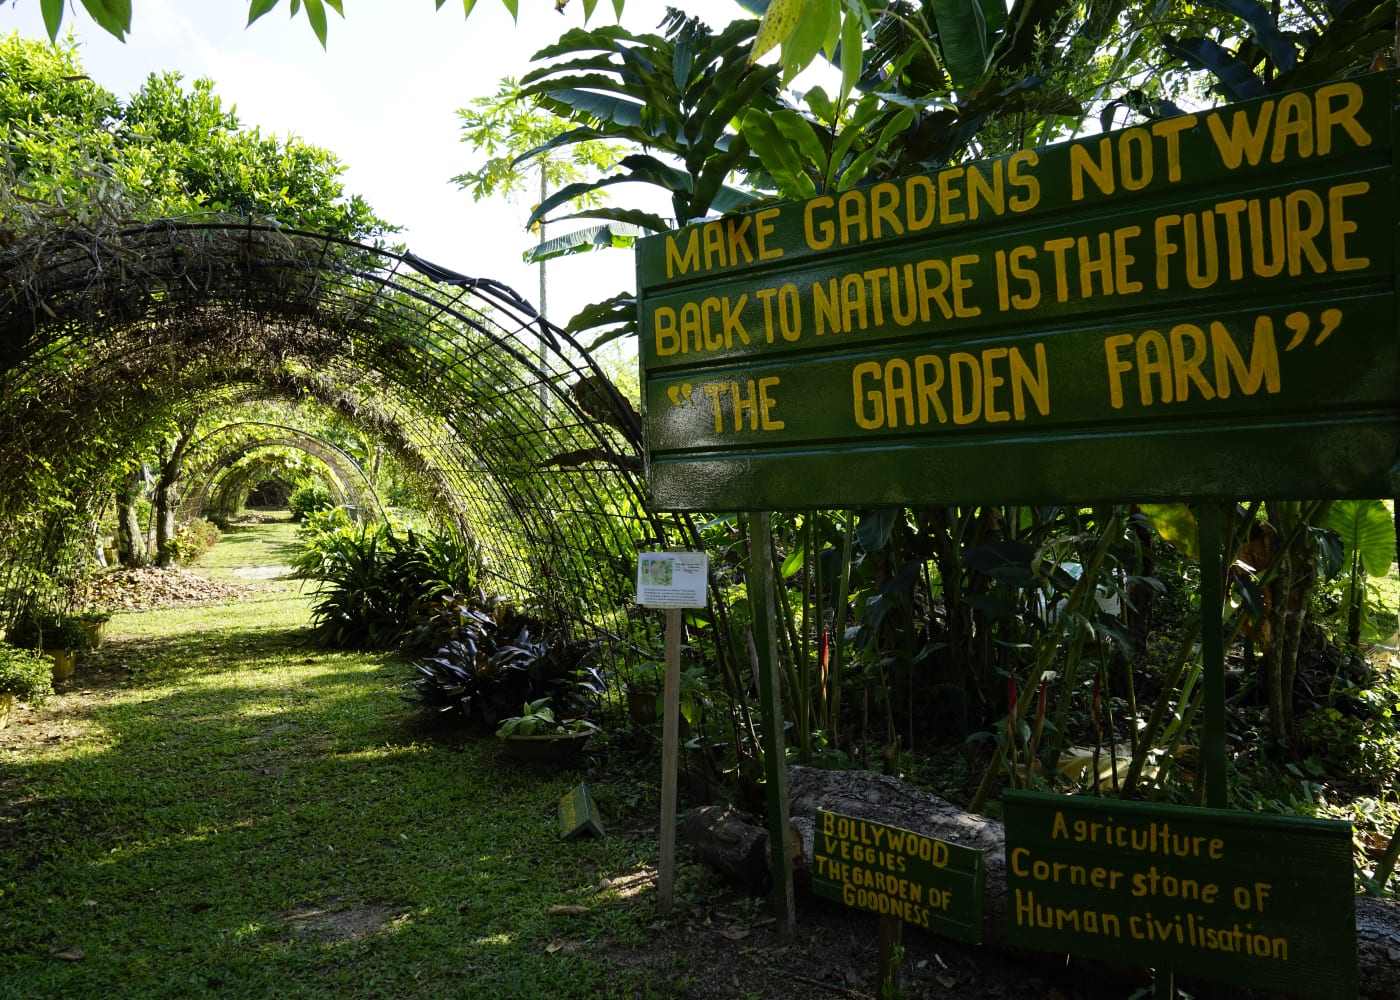
A great way to pique kids’ curiosity and start your urban gardening adventure is to take them to one of Singapore’s brilliant farms. Here they’ll get an understanding of what our food looks like before it’s processed – and what it takes to grow fruit and vegetables. Some farms, like Quan Fa, will even take you on guided tours, where you can learn about composting, greenhouses and organic processes.
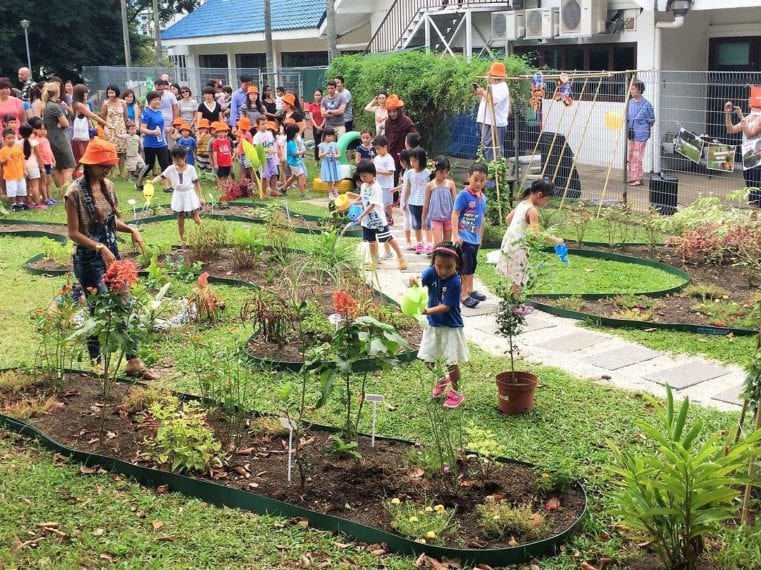
2. Attend a gardening event or two
HortPark hosts its signature event, Gardeners’ Day Out on a regular basis. It’s a full day of activities including Gardeners’ Markets, free talks and demonstrations, free HortPark garden tours and kids’ activities like storytelling and handicrafts. We also love the work of Edible Garden City, champions of the ‘grow your own food’ movement here in Singapore. It designs, builds and cultivates food gardens across the island, in places like Open Farm Community and The Summerhouse. Edible Garden City also hosts workshops like “how to make planters from recycled material” and ” an introduction to hydroponics”. The kids love the urban farmer holiday programmes too… the perfect way to introduce children to gardening!
3. Bookmark www.nparks.gov.sg right now
Head to the gardening section of the NParks website and you’ll find loads of information on upcoming gardening events. It also has loads of online resources, like NParks Flora & Fauna Web, where you can find information about all the different plants and wildlife that lives in Singapore. It also has other really handy resources including what type of plants to grow, hands-on videos and instructions on how to care for various plants, too.
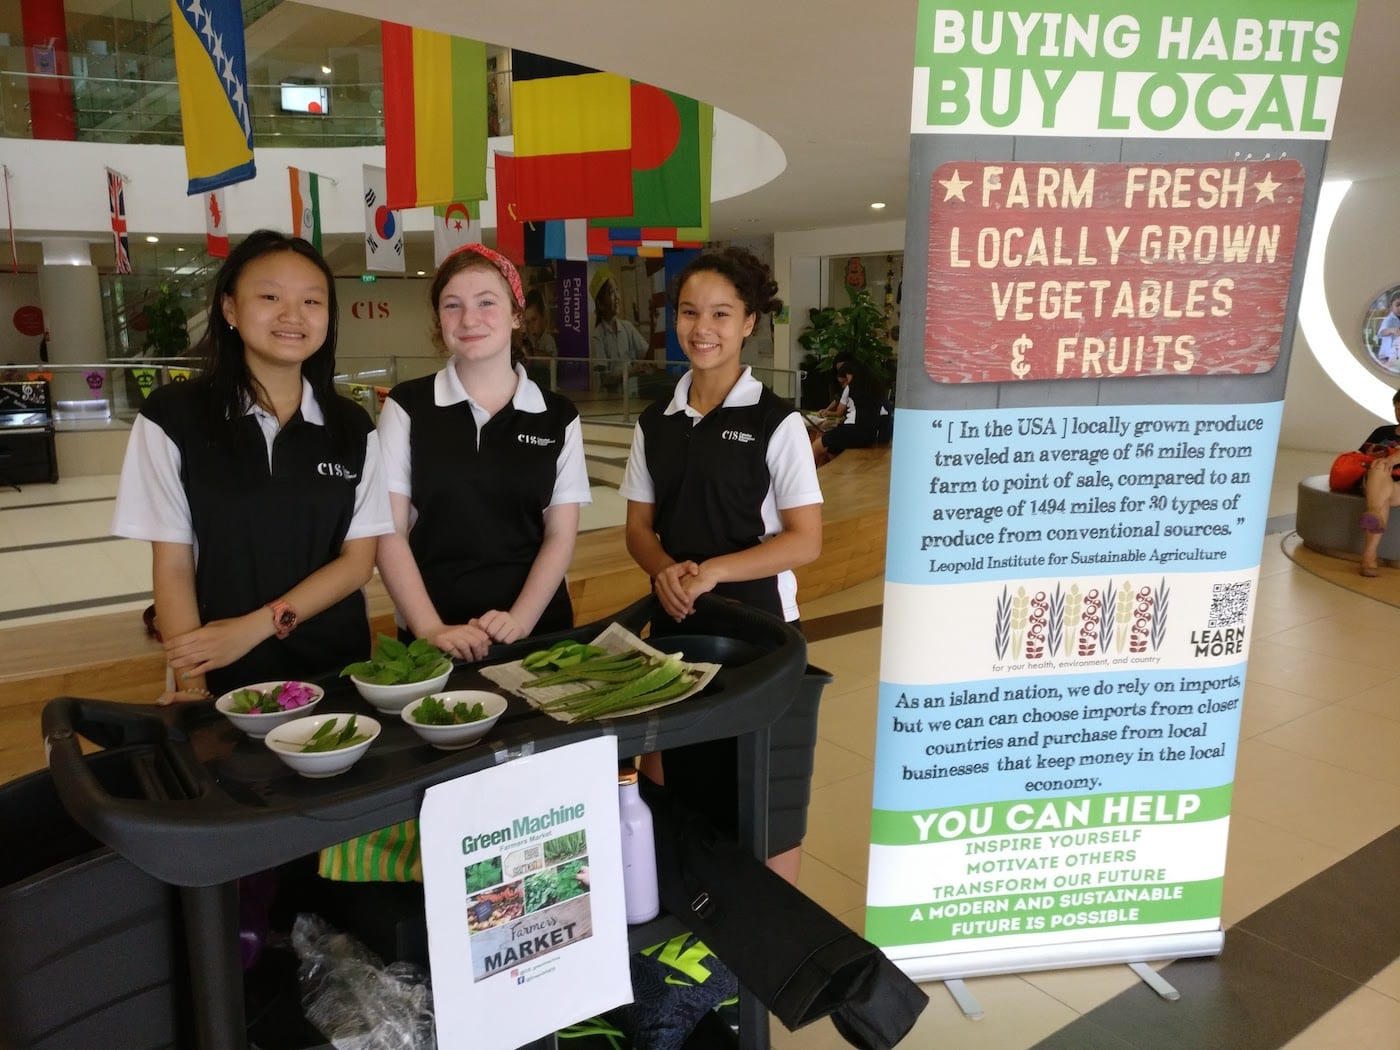
4. Get into the community gardening spirit
Did you know that Singapore has over 1,300 community gardens, involving more than 36,000 gardening enthusiasts? Awesome, right? Through NParks’ initiative, Community in Bloom, community gardening groups have been established in public housing estates, condos, roadside gardens and schools. Entirely led by volunteers, this is a beautiful way for keen gardeners and people from all walks of life to share their talents with others. Community in Bloom also offers an indoor gardening starter kit to help transform indoor rooms into vibrant, lively spaces, with ideas like terrariums, hanging plants and shelves.
There are also gardening programmes in Singapore for students – from pre-schoolers right through to high school kids – where they’ll develop a love and understanding of agriculture. This programme is generally run through schools and free resources are provided for educators.
If you’re after something with a bit more autonomy, but still in a community setting, Singapore offers allotment gardens across the island. After the success of the pilot scheme at HortPark, allotment gardening plots were progressively introduced, with more than 1,000 allotment garden plots allocated to the community. Each allotment plot consists of a 2.5m x 1m raised planter bed, leased for three years at a charge of $57/year (excluding GST).
5. Start your urban garden at home
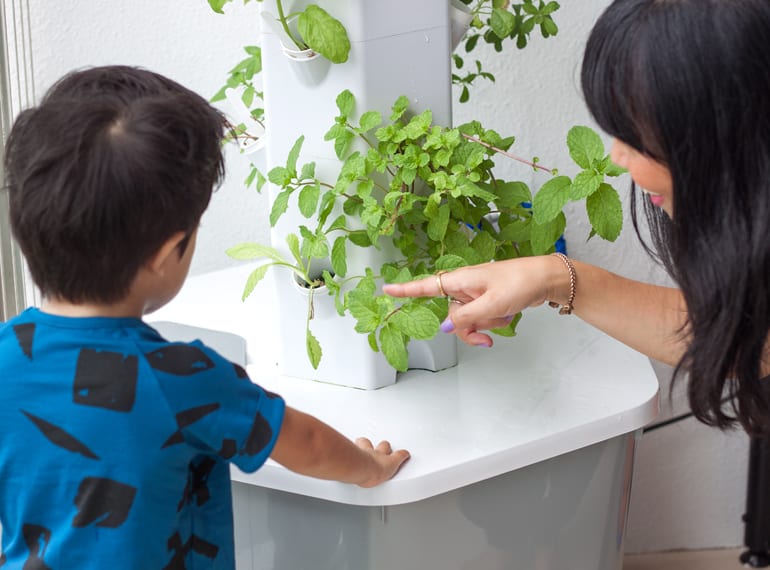
All you need is some supplies and you’re all set to start your home garden in Singapore! Head to one of the many garden centres around town to get going. Try Thomson Road, Bedok, Queensway or Clementi for starters. Or, when you’re short on space, you could try going up! We love Aerospring – a vertical aeroponics growing system that was developed right here in Singapore. Promising “no soil, no mess, and lots of success!”, it works by using water rather than soil to cultivate a garden. That means there’s no weeding, kneeling, or digging. The Aerospring also grows upwards instead of outwards, making it perfect for the apartment-dwelling lifestyle that many of us enjoy (or tolerate!) in Singapore.
How to grown an urban garden in Singapore
Grow an urban garden from seed
You will need: rockwool cubes, seeds, vermiculite (for insulating your seeds and helping to retain moisture), a chopstick and a plastic container (takeaway boxes work well). If you have sensitive skin, you might want to wear gloves while handling the fibrous rock wool.
1. Thoroughly wet the rockwool and let it soak in the container for 30 mins.
2. Use the chopstick to widen the holes in the rock wool a little – kids love helping with this task!
3. Place some seeds into the holes, just below the surface. For salads, place six to 12 seeds. For herbs, place up to six seeds. For veggies with larger seeds (such as tomatoes, cucumbers and chillies) place one to two seeds. Sprinkle over some of the vermiculite to protect the seeds. Spray with water to moisten.
4. Place in a cool, dark area indoors. Check daily to make sure the rockwool stays moist.
5. Germination times depend on the variety of plant, and can take between two days to three weeks. After the seeds start to sprout, they’ll need light. Move them into partial sun or under fluorescent or LED lights.
7. When roots start growing out of the rock wool, pop them into your urban garden, or into your vertical garden (like an Aerospring).
5 tips to seedling success in Singapore
1. Start with fresh, quality seeds. Seeds packed it alufoil packaging are sealed for freshness; those loose in a paper envelope will be exposed to Singapore’s humidity and heat. Once you open a package, place any left over seeds in a ziplock bag and keep in the crisper section of the fridge.
2. Use more seeds than you need to plant. The germination success rate of seeds depend on so many variables: germination temperature, medium, age/quality of seed, light, moisture etc. So you should plant more than one tomato seed if you want one tomato. Plant the strongest seedling – some seedlings may need to be sacrificed or placed into soil at a later date.
3. Don’t place the seeds too deep into rockwool cubes. If the seeds are tiny (like mint), sprinkle them on the top of the rockwool cube instead of in the pre-cut seed hole. When mint first emerges, it is tiny, and if they are buried in that hole, they may struggle to receive any light. As soon as the first leaves emerge, place the seedlings under light or by a windowsill. Make sure not to cook them in the sunshine.
4. Don’t let the rockwool cubes dry out. Maintain a constant, cool temperature. Don’t germinate the cubes outdoors in our tropical heat. Generally, most herbs will germinate in Singapore’s ambient indoor temperature, but a good rule of thumb is to Google germination temperatures. A simple search, e.g. “spinach germination temperature”, will reveal that they need 15-20 degrees to sprout, so that plant is not suited for growing in Singapore’s climate. Neither is Iceberg Lettuce.
5. Some plants are just better propagated by cuttings! Plants like mint, lemon balm, rosemary, tarragon, borage and even passion fruit should be cut from the “mother plant”. Mint and laksa leaves are easily propagated by cutting a stem, removing the lower leaves of the stem and placing in a jar of water. Change the water every couple of days, making sure it’s not the perfect breeding ground for mosquitos. Within 1-3 days, little roots will form. When the roots start branching out, cut a moistened rockwool cube and sandwich the rooted cutting into the cube.
Common problems with urban gardens (and how to fix them!)
We asked Nadine Keller and Thorben Linneberg from Aerospring for their tips and tricks when gardening in Singapore:
1. Why are my plants looking yellow?
Yellowing plants in hydroponic gardening is a sign of nutritional deficiencies; usually nitrogen if you’re growing leafy greens or herbs. If you have fruiting plants in your vertical garden, they could be drawing more of the nutrients and leaving little left for the other plants to absorb. Check your nutrient levels in the bucket with an EC meter and change out the water every month to ensure optimal nutrient levels.
2. Why are my herbs growing on one large, long stalk and not into a bush?
This is because the herbs aren’t being “topped”. Basil grows very quickly and you should start pruning or “topping” the plant when the central stem gets about 15cm tall and has developed three to five strong leaf sets. Basil branches out at these pinch points, two new leaf sets form at these points and you should continue pinching as the stems on the new leaf sets get longer. When harvesting, continuous use of the pinching method will develop your plant into a bush. Use this method with your mint, too.
3. Why do my tomatoes keep dying?
Tomatoes start getting really troubled when temperatures exceed 34 degrees. A mature and established plant may survive such temperatures, but a young plant may lose the will to live. In fact, pollen in tomato flowers are rendered infertile in such extreme temperatures, so while you may have an abundance of flowers on an established plant, it won’t fruit. If you are cultivating a young plant, note extreme temperature days and move it to a shady spot if temperatures exceed 34 degrees.
4. The roots of my plant have turned brown – can it still be saved?
Root growth is an ongoing process and browning of the roots is normal. If you spot new white roots coming through, there is regeneration which is what you want to see. New root growth is important for the uptake of nutrients as younger roots absorb the nutrients better. Smelling and feeling the roots is also a good indication of whether they’re in trouble. If they smell rotten and feel mushy, there may be root rot in progress and possibly also bacteria. Generally, root issues arise because of an unmanageable increase in temperature which lowers the oxygenation rate of the water. Dilutes hydrogen peroxide can help eliminate infections and prevent future ones.
5. My balcony is sizzling hot and my plants are getting scorched – how can I protect my plants?
Always rotate plants that receive little to no direct sunlight. If you’re using a vertical garden, protect the bucket of water from the sun and monitor your water temperature. The bucket should not be exposed to the blazing sun and if it is, should be shielded with some cardboard, shade netting or even a weatherproof sheet (the kind you would use on the dashboard of your car). Another way to combat an extremely hot day is to keep a couple of small water bottles filled with water in the freezer. Throw them in the bucket on a really hot day to cool down the water.
6. What are the white spots on my plants and how do I get rid of them?
White spots on the surface of the leaves could be a fungus like powdery mildew. Powdery Mildew is a fungal disease that affects a wide range of plants and is prevalent in high humidity climates like Singapore. It often affects cucumber or pumpkin plants. If you see specks of white on the underside of the leaves, you might have whitefly. If these specks can’t be wiped off, it’s probably fungal. The natural method of treating this would be to use milk (yes, the kind you drink!) in a 1:10 dilution to water. Spray affected leaves and stems. You can use this to treat as well as prevent (spray weekly).
Love this guide to urban gardening in Singapore? Check out these tips on growing food from scraps!