
Don't listen to the naysayers - sewing is easy. Just take some fabric, sew it together, turn it inside out, stuff it and voila – instant stuffed toy.
Sewing your own soft toys is as simple as taking inspiration from the guru of all things; Google Images. Even those of us here at HoneyKids with two left hands can make a piece of fabric look vaguely like an object that exists in the real world. Easy as pie. So, with the weather sending us indoors a lot lately we started looking for new rainy day activities and wound up tinkering with stuffies (among other little projects that we enjoy as much as the kids do). If your kids are still too young to hold a needle, give it a try yourself…
One plushie pattern we’ve found is the absolute best for customising is the ball pattern. Balls are typically made by sewing six identical shapes together. By changing the length, width, and number of the shapes, you can change the shape of your ball, making it as flat or as fat as you want it to be. By adding extra bits onto it like eyes, ears, and fins, you can turn a simple ball into an animal, a food item, and even a mythical creature. Add a bell and you have an instant entertaining chew toy for your furkid.
If this is your first time hand-sewing a stuffed toy, we recommend starting with felt because the material is stiff and easy to cut and sew. Daiso is pretty much your one-stop shop for all things haberdashery – you can get thread, needles, felt, stuffing and decorations, all for two dollars each. Perfect for small projects! Here’s how to do it:
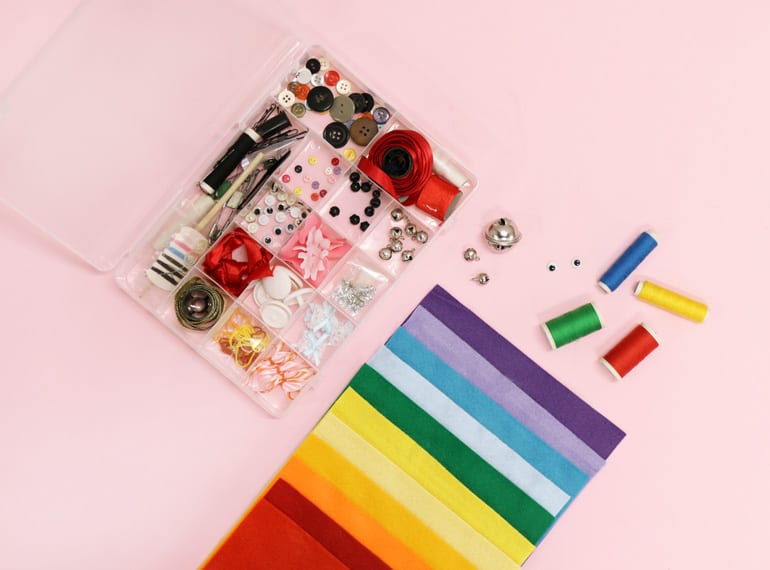
Materials needed:
- Felt
- Scissors
- Paper
- Needle & thread
- Stuffing
- Accessories (eg googly eyes, bells, ribbons, fabric scraps, buttons)

Steps:
- Using a shape that’s been cut from paper, cut out six of the ball pattern shapes. Don’t throw away the scraps! You’ll need them later.
- Sew the shapes together by threes, leaving a 1cm gap from the edges and turn them inside out. Here we used a back stitch because it is one of the strongest and neatest stitches.
- Here’s where you can get creative! Add eyes, nose, mouth, ears and limbs and other accessories to the shapes. Remember to sew it on the outside of the shape.
- Sew the two halves together, leaving a gap so you can turn it inside out.
- Stuff the toy with your stuffing.
- Sew it shut using an invisible closing seam, also known as a ladder stitch.
- Ta-da! Easiest stuffy ever.
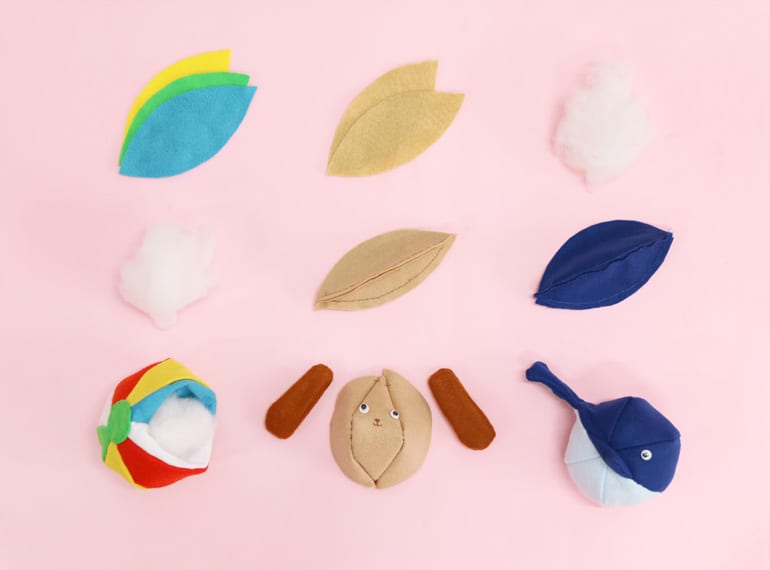
Don’t be discouraged if it doesn’t turn out exactly how you imagined (that bunny should have been a dog) – you can always try again (and give the messed up one to the dog). Happy sewing!

Top image: Photography by Darissa Lee.
Like this story? Here’s more we think you’ll enjoy!
Easy crafts to do with kids
Toilet roll crafts for rainy days
Best craft shops in Singapore
Get creative at a workshop for adults
100 indoor activities to do with kids
